How to Make a Bouquet of Flowers: A Quick Guide for Beginners
If you’ve ever wanted to learn how to make a bouquet of flowers, you’re not alone. There’s something almost magical about holding a bouquet you made yourself. Here are some tips for you to make a beautiful bouquet of flowers.
If you’ve ever wanted to learn how to make a bouquet of flowers, you’re not alone. There’s something almost magical about holding a bouquet you made yourself. After all, it’s not just flowers tied together. You use your hands, your energy, and your taste to create a little piece of art. Sure, you could grab a pre-made bunch from the store, but where’s the fun in that?
Learning how to make a bouquet of flowers might sound intimidating, but it’s really not. In fact, it’s a mix of play and a bit of know-how. You get to choose the colors, the textures, and the vibe, whether you want wild and romantic or neat and polished. And the best part? You don’t have to be a florist to make something beautiful.
Here are some tips for you to make a beautiful bouquet of flowers:
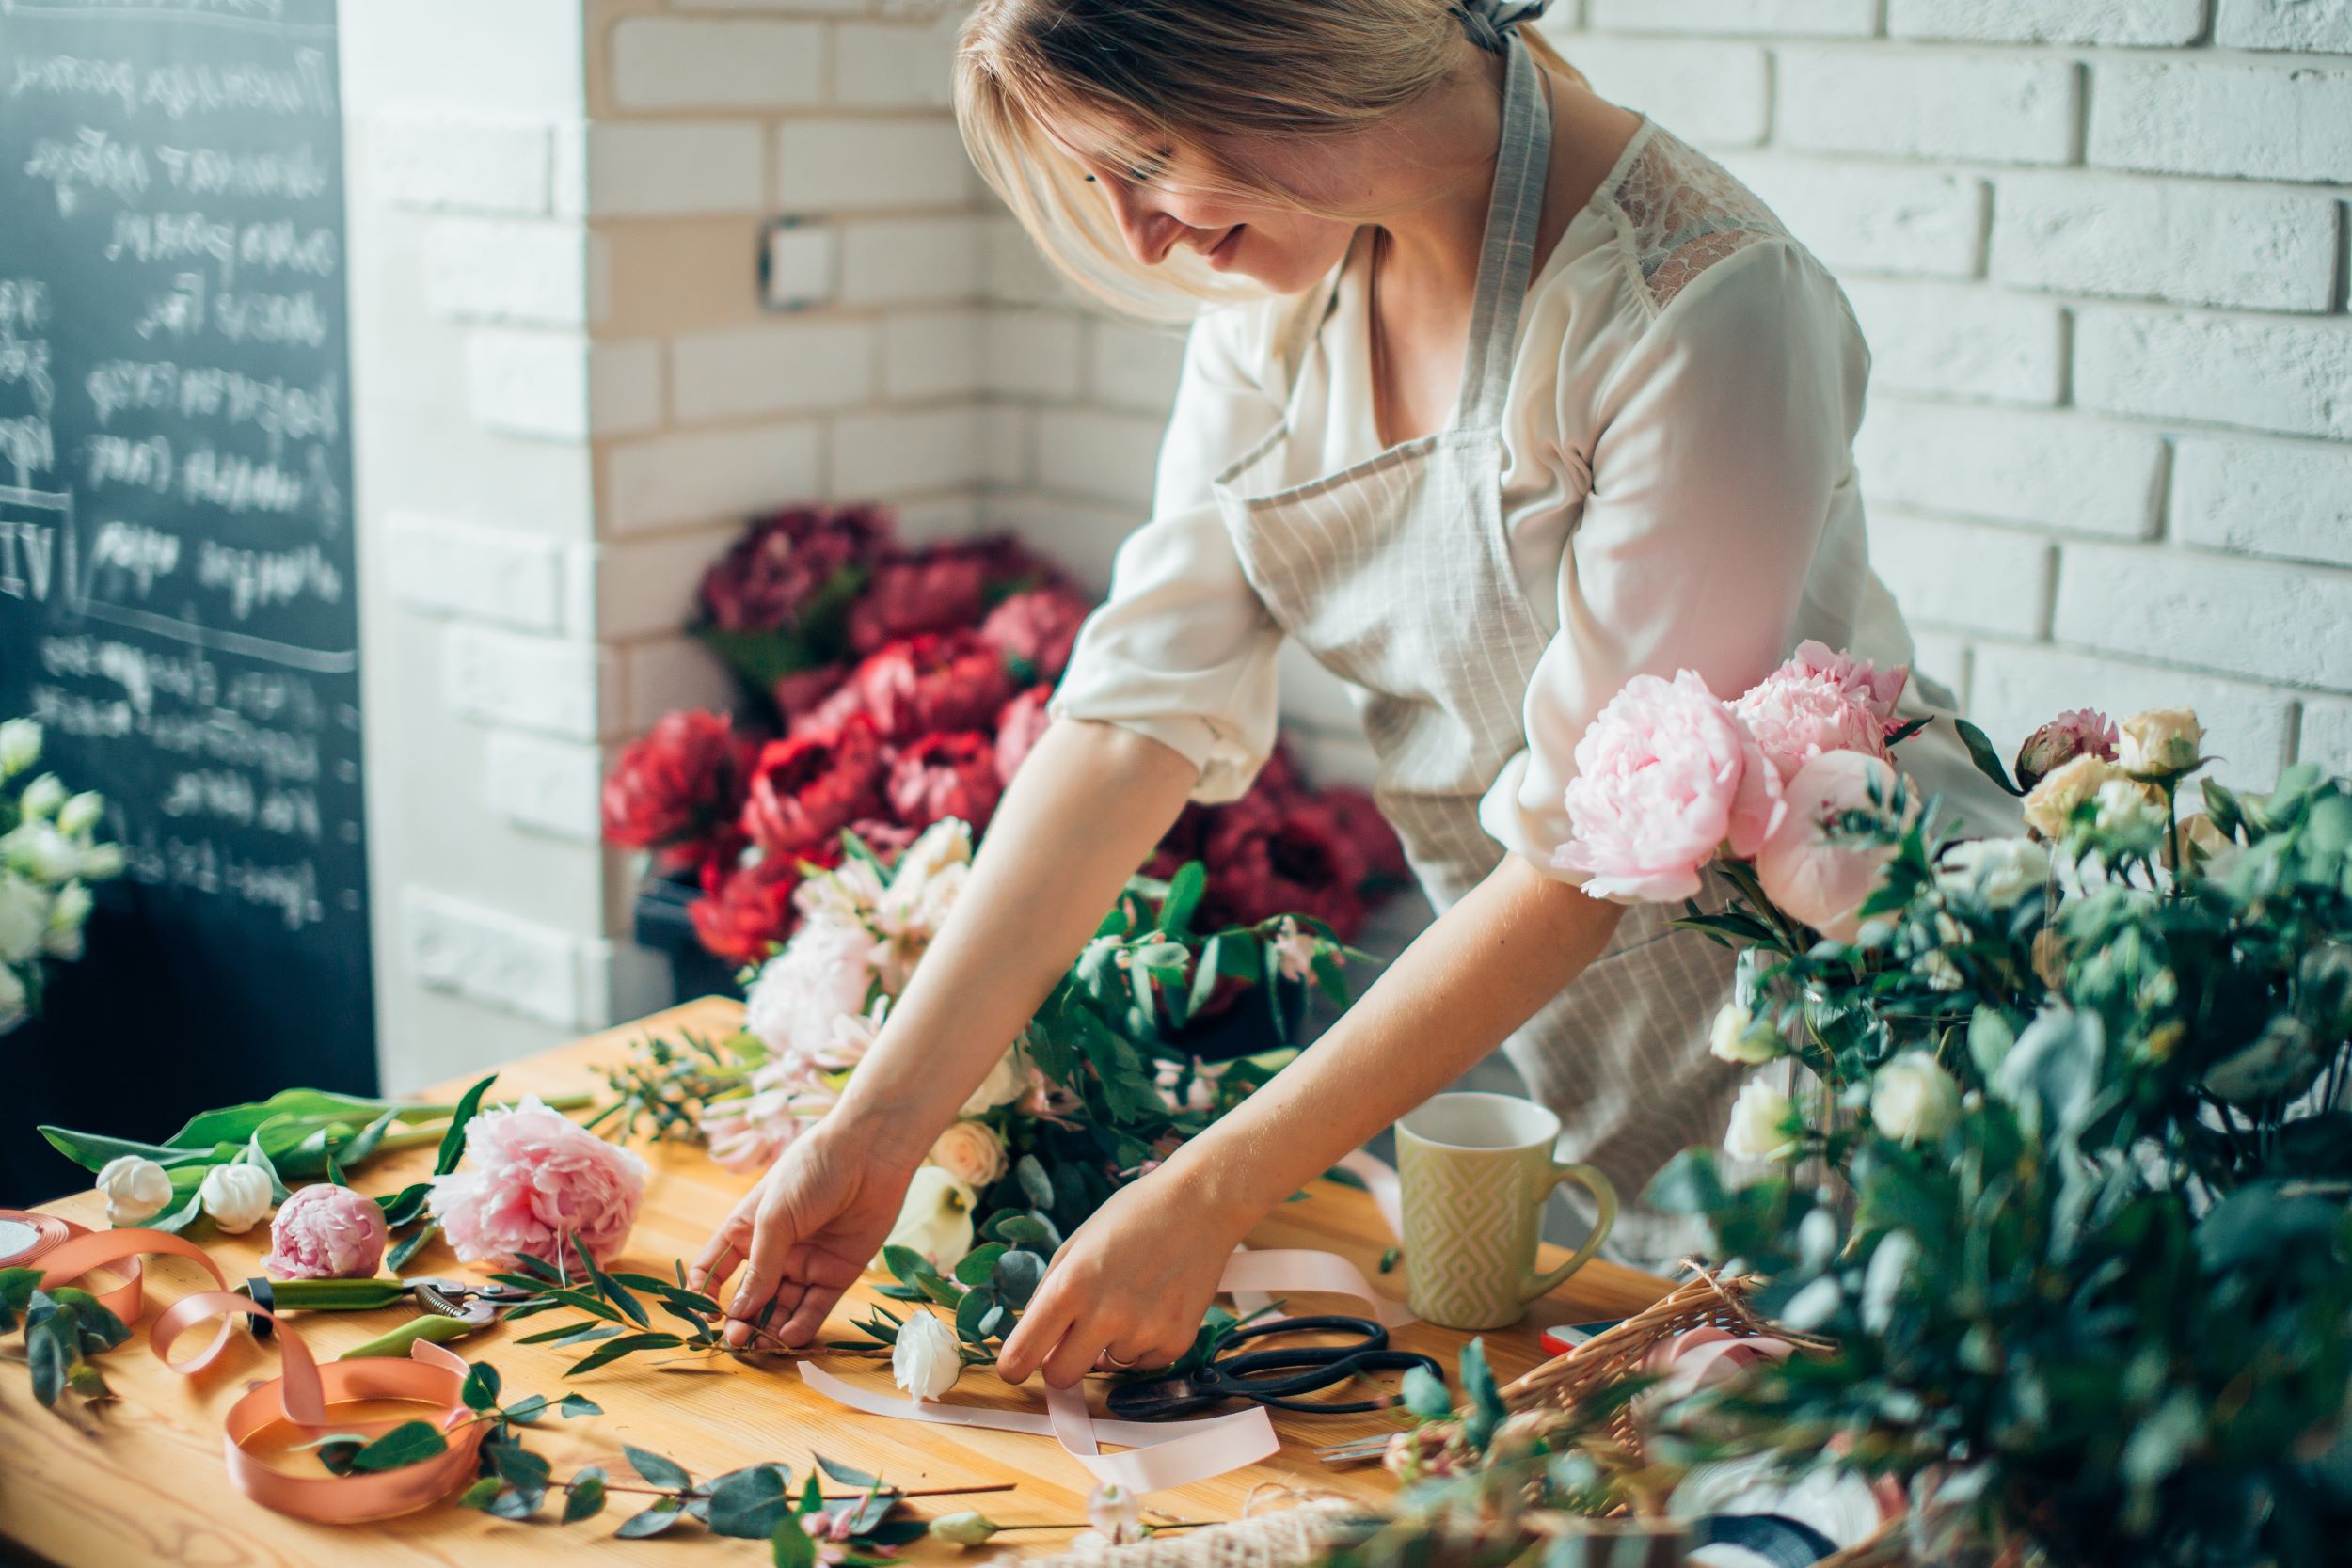
Gather Your Tools and Materials
Before you start arranging, you’ll need a few basic supplies. Nothing fancy, just the essentials to make the process smooth.
- Fresh flowers: Pick ones you love. Go for a mix of sizes, colors, and shapes so your bouquet has some personality.
- Filler flowers & greenery: Think baby’s breath, eucalyptus, or fern leaves to add texture and depth.
- Floral tape, twine, or ribbon: To hold everything together without slipping.
- Sharp floral shears or scissors: A clean cut keeps stems healthier.
- Bucket or vase of water: Keeps your flowers fresh while you work.
Set everything up in one spot so you’re not running around mid:bouquet with scissors in one hand and a drooping flower in the other.
Choose Your Flowers Like a Pro
It’s really enjoyable picking your blooms. This is where your bouquet’s personality really starts to take shape.
- Start with a star: Choose one or two types of flowers that will be your focal point. These are usually larger or more eye:catching blooms like roses, lilies, or peonies.
- Mix in supporting players: Add medium:size flowers that complement your main blooms without stealing the show.
- Play with color and texture: Pair soft petals with spiky ones, bright colors with muted tones. A little contrast makes your bouquet more interesting.
- Think seasonal: Flowers in season are fresher, last longer, and are often easier on your budget.
When you’re picking them out, don’t just go by looks. Give them a gentle squeeze and check the stems. You want fresh, sturdy flowers that aren’t starting to wilt.
Prep Your Flowers
Before you start arranging, a little prep work goes a long way in making your bouquet last.
- Strip the stems: Remove any leaves or thorns from the lower part of each stem. Leaves sitting in water will just rot and make things icky fast.
- Trim at an angle: Cut about an inch off each stem at a 45-degree angle. This helps them drink more water.
- Hydrate before arranging: Pop your flowers into a bucket of fresh water for at least 30 minutes before you start. Think of it as a little spa time before the big show.
This step might not feel as exciting as picking the blooms, but trust me, your bouquet will thank you by looking fresher for days.
Arrange the Bouquet Step-by-Step
Now comes the part where it all comes together.
- Start with your focal flowers: Hold two or three statement blooms in one hand. This is your bouquet’s anchor.
- Add supporting flowers: Place them around the focal blooms, working in a spiral pattern. Keep turning the bouquet in your hand so it stays balanced.
- Fill the gaps: Use greenery and smaller filler flowers to add texture and make everything look full.
- Check the shape: Step back for a second. Does it look balanced? Is one side heavier than the other? Adjust as needed.
Don’t overthink it, as bouquets aren’t meant to be perfect. Sometimes the slightly wild, uneven ones are the most beautiful.
Secure and Wrap Your Bouquet
Once your flowers are right where you want them, it’s time to lock them in place.
- Tie it off: Wrap floral tape or twine tightly around the stems, just under the blooms. This keeps everything from shifting.
- Add your wrap: Cover the tape with ribbon, burlap, or even a strip of lace. Wrap it snugly, but not so tight that it crushes the stems.
- Finish with a bow or knot: A small detail that instantly makes your bouquet feel polished.
If it’s a gift, you can also tuck in a little handwritten tag for that extra personal touch.
Care Tips for a Longer:Lasting Bouquet
You’ve put in the work… now let’s make sure your bouquet stays gorgeous for as long as possible.
- Fresh water daily: Change the water and trim the stems a little every day to keep them drinking well.
- Avoid direct sunlight and heat: A cool, shaded spot will help them last longer.
- Remove wilting flowers: This keeps the rest of the bouquet looking fresh and prevents bacteria from spreading.
- Use flower food if you have it: It’s not a must, but it can give your blooms an extra boost.
A little daily care can add several days to your bouquet’s life and keep those colors and petals looking photo-ready.
Bringing It All Together
Making a bouquet is about arranging flowers, and it’s also about creating a little piece of beauty you can hold in your hands. Whether it’s for a friend, a special event, or just to brighten your own day, the process is simple, relaxing, and pretty rewarding. With a few fresh blooms, some greenery, and your own touch, you can turn everyday flowers into something worth smiling about.